

Your vehicle’s interior is where you spend every mile of every journey. Whether you’re commuting to work, taking family road trips, or transporting clients, a clean cabin creates a more enjoyable driving experience while protecting your investment.
Unfortunately, most drivers focus on washing the exterior while overlooking the interior. Over time, dust, food crumbs, body oils, pet hair, spills, bacteria, and UV exposure gradually wear down upholstery, leather, plastics, and carpets. Left untreated, these contaminants can create unpleasant odors, permanent stains, fading, and premature aging.
The good news is that professional-quality interior detailing doesn’t require replacing your interior. With the right process, proper tools, and quality automotive cleaning products, you can restore nearly every surface inside your vehicle and keep it looking showroom fresh for years.
This complete guide explains everything you need to know about car interior detailing from preparation and cleaning to protecting every surface inside your vehicle.
Many people think interior detailing is only about appearance, but it offers much more than cosmetic improvements.
Every time you drive, dirt, sweat, dust, oils, pollen, bacteria, moisture, and food particles build up inside your vehicle. These contaminants slowly damage interior materials while creating an unhealthy environment.
Regular interior detailing helps:
A well-maintained interior also leaves a positive impression on passengers and potential buyers.
Routine interior detailing provides both immediate and long-term advantages.
Extends the Life of Interior Materials
Leather, vinyl, fabric, plastic, rubber, and carpeting naturally wear over time. Dirt acts like sandpaper, slowly breaking down these materials whenever people enter or exit the vehicle.
Regular cleaning removes abrasive contaminants before permanent damage occurs.
Improves Air Quality
Dust, pollen, pet dander, mold spores, and bacteria often collect inside vehicle cabins. Thorough vacuuming and sanitizing help reduce airborne allergens and create a healthier environment.
Prevents Odors
Spilled drinks, food particles, moisture, and pet accidents often produce lingering odors. Deep cleaning eliminates odor sources instead of simply masking them with air fresheners.
Maintains Vehicle Value
A clean interior significantly increases resale appeal. Buyers are more confident purchasing vehicles with well-maintained cabins that show minimal wear.
Creates a Better Driving Experience
Driving becomes more enjoyable when seats, carpets, windows, and controls are spotless. A clean cabin reduces distractions and promotes comfort during long trips.
Professional results begin with proper equipment.
You’ll typically need:
Avoid using household cleaners, bleach, ammonia, or harsh chemicals unless specifically labeled as safe for automotive interiors.
Preparation makes detailing easier and prevents cross-contamination.
Begin by removing:
Park the vehicle in a shaded location where interior surfaces remain cool.
Direct sunlight causes cleaning products to dry too quickly, leaving streaks or residue behind.
Following a consistent process produces better results while saving time.
Start with a thorough vacuum.
Use crevice tools to reach:
Removing loose debris first prevents rubbing dirt into delicate surfaces later.
Floor mats often contain the largest concentration of dirt.
Rubber Mats
Wash with water and an automotive cleaner before scrubbing with a stiff brush.
Fabric Mats
Vacuum thoroughly before treating stains with carpet cleaner.
Allow mats to dry completely before reinstalling them.
Dust settles quickly on dashboards because static electricity attracts airborne particles.
Use:
Clean every surface carefully, including:
Work from top to bottom to avoid recontaminating cleaned areas.
Plastic trim experiences constant exposure to fingerprints, skin oils, UV rays, and dust.
Spray cleaner onto a microfiber towel rather than directly onto sensitive electronics.
Gently wipe:
For textured plastics, use a soft detailing brush to lift dirt from small grooves.
Leather requires specialized care because improper cleaners can remove natural oils.
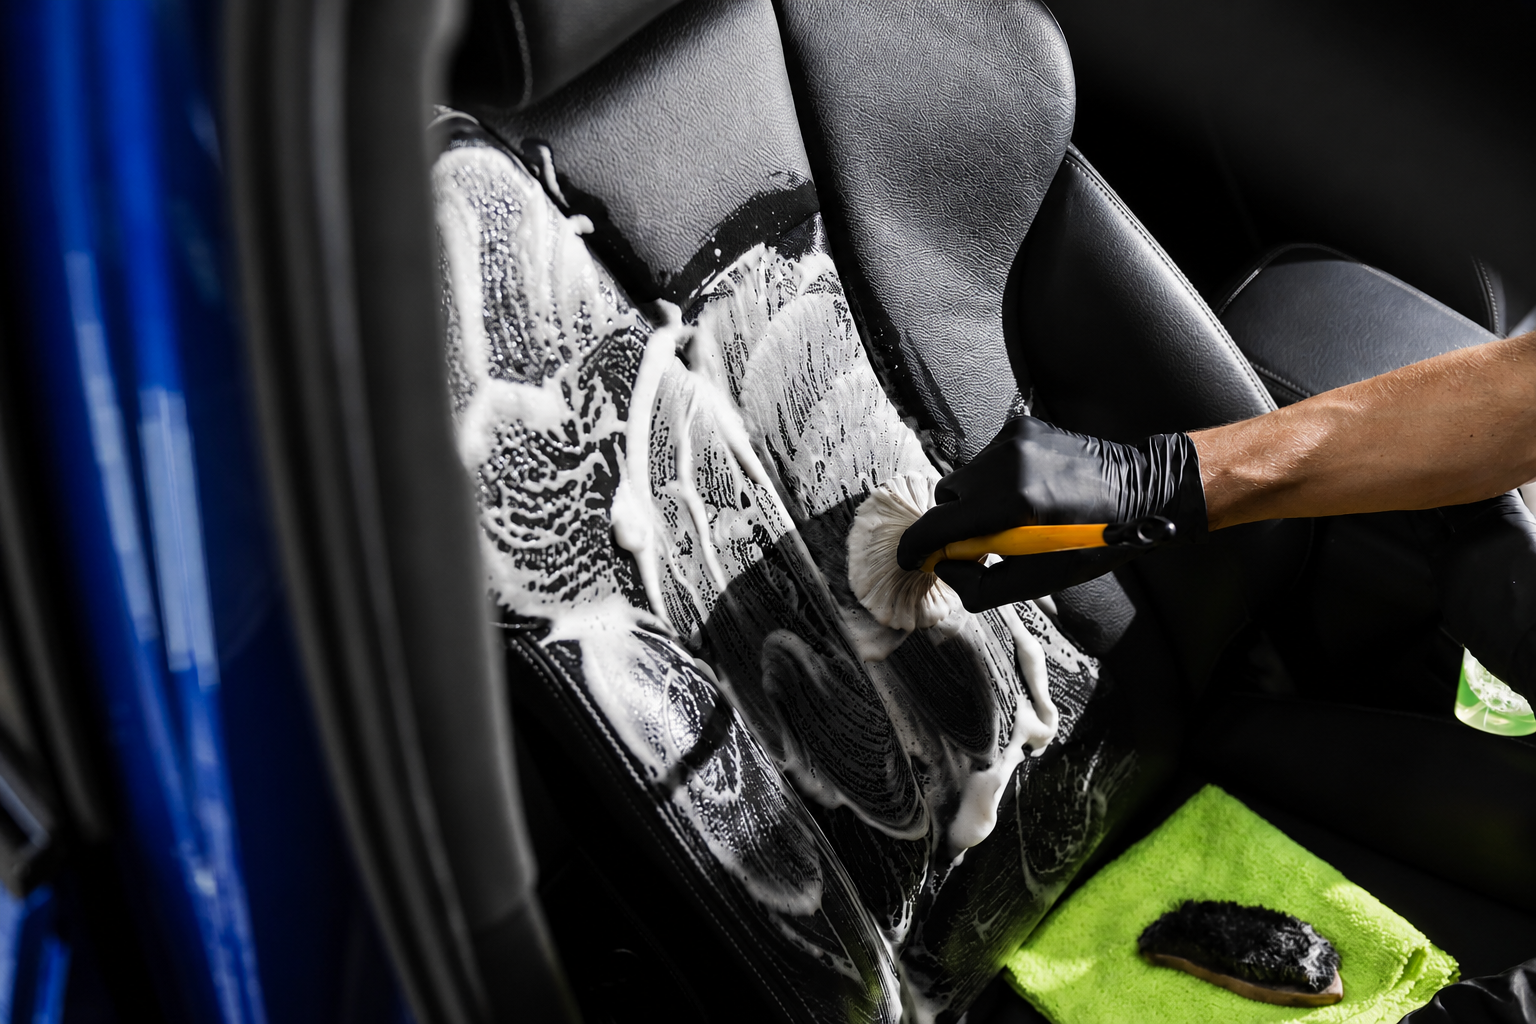
First clean leather using an automotive leather cleaner.
Work in small sections while gently agitating with a soft brush or microfiber towel.
After cleaning, apply leather conditioner to restore moisture and maintain flexibility.
Conditioning helps prevent:
Never oversaturate leather surfaces.
Fabric seats absorb body oils, dirt, spills, and odors.
Spray upholstery cleaner evenly over the surface before lightly brushing the fabric.
Blot excess moisture with clean microfiber towels.
Allow seats to dry completely before driving.
For stubborn stains, repeat the cleaning process instead of aggressively scrubbing the fabric.
Carpet fibers trap dirt deep below the surface.
Spot-treat stains first before cleaning the entire carpet.
Common stains include:
After applying carpet cleaner, gently agitate using a soft brush before blotting away residue.
The steering wheel is one of the most frequently touched surfaces inside your vehicle.
Body oils and bacteria accumulate quickly.
Use a mild interior cleaner appropriate for the steering wheel material.
Avoid slippery dressings that could reduce grip while driving.
The headliner requires extra caution because excessive moisture can weaken its adhesive.
Instead of soaking the fabric, lightly spray cleaner onto a microfiber towel.
Gently wipe stains without scrubbing aggressively.
Interior glass often develops a hazy film caused by:
Use an ammonia-free automotive glass cleaner.
Clean one side vertically and the opposite side horizontally to quickly identify streaks.
Don’t forget:
Crystal-clear glass greatly improves visibility.
Cleaning removes dirt.
Protection helps prevent future damage.
Apply UV protectant to:
Quality protectants reduce fading, discoloration, and cracking caused by sunlight.
Choose products that leave a natural, non-greasy finish.
Rather than masking odors with fragrances, remove their source.
Clean all soft surfaces thoroughly before using an odor eliminator.
For persistent smells:
A clean cabin naturally smells fresher.
Every interior material requires a slightly different approach.
Leather
Clean with dedicated leather cleaner before conditioning.
Fabric
Use upholstery shampoo designed for automotive textiles.
Plastic
Use pH-balanced interior cleaners that won’t dry out trim.
Vinyl
Clean gently before applying UV protection.
Rubber
Scrub thoroughly and protect with a non-slip dressing.
Alcantara and Suede
Use cleaners specifically designed for delicate synthetic suede materials.
Many DIY detailers accidentally damage interiors by making simple mistakes.
Avoid:
Taking your time produces much better results.
DIY detailing works well for routine maintenance.
Professional detailing may be worthwhile if your vehicle has:
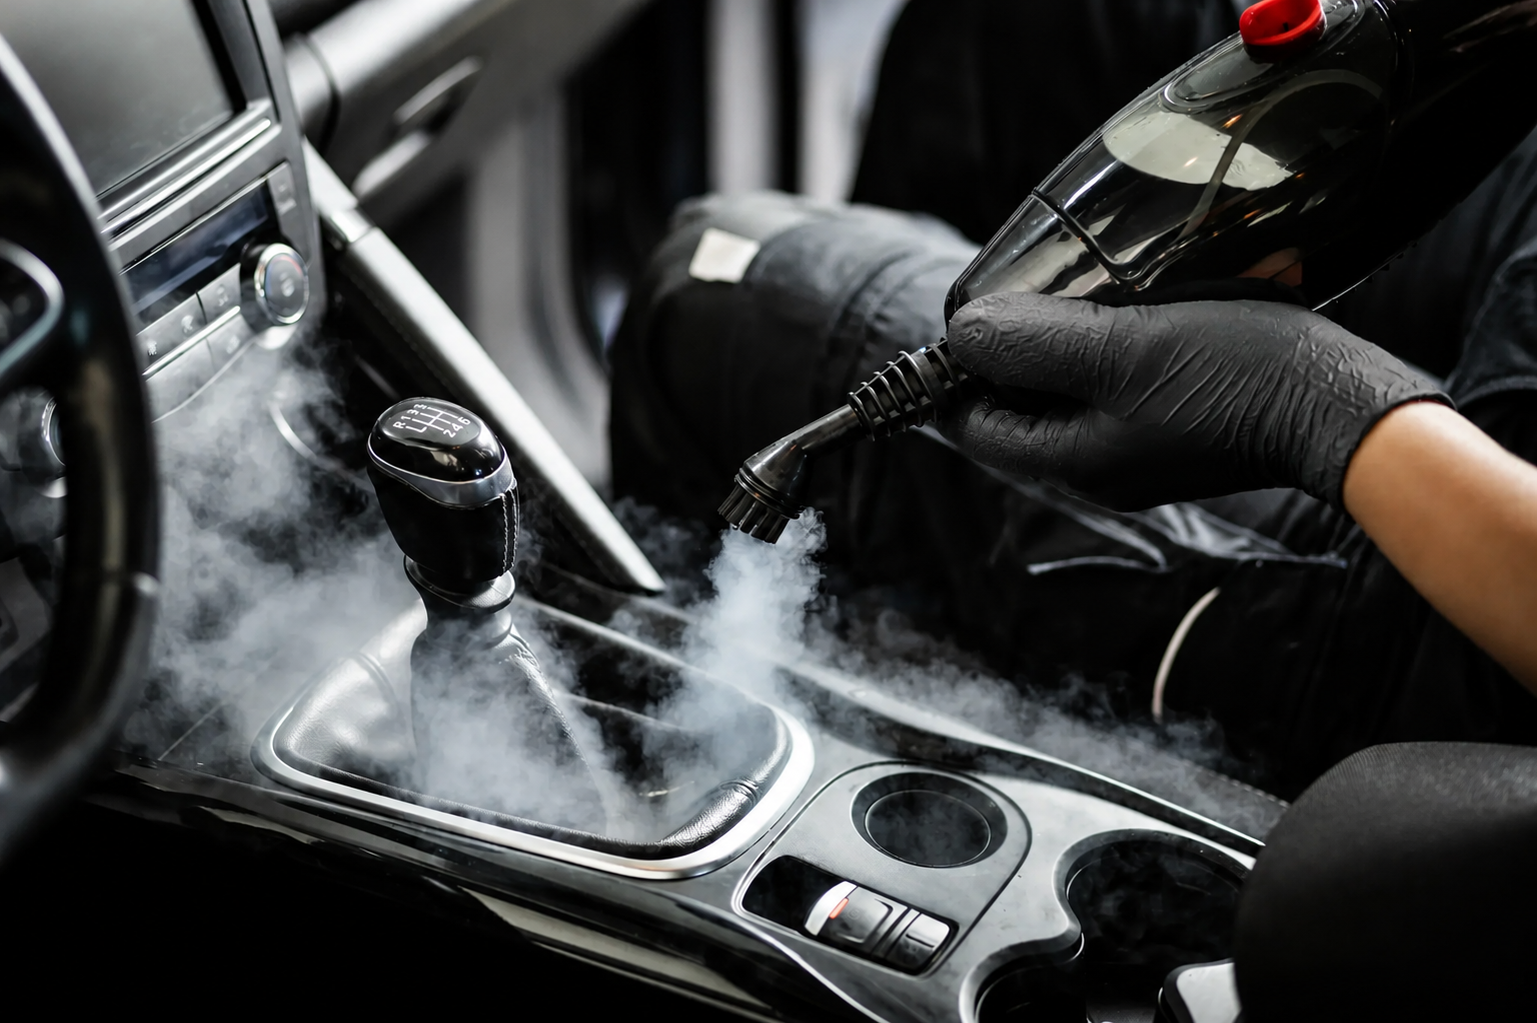
Professional detailers often use steam cleaners, extractors, ozone treatments, and specialized equipment unavailable to most vehicle owners.
Maintaining your interior is easier than restoring it after years of neglect.
Develop simple habits such as:
Small maintenance efforts greatly reduce deep-cleaning time.
A spotless vehicle interior isn’t just about appearance it’s about preserving your investment, improving comfort, and creating a healthier driving environment.
From vacuuming carpets and restoring leather seats to cleaning glass and protecting plastic trim, every detailing step helps extend the life of your vehicle’s interior materials.
Whether you perform a full detail every few months or maintain your cabin with regular light cleaning, consistency is the key to keeping your car looking, feeling, and smelling like new. Investing a little time in interior care today can save you from costly repairs, stubborn stains, and premature wear in the future. If you’re ready to grow your business with results-driven SEO, contact us today for a free consultation.
How often should you detail your car’s interior?
A complete interior detail every three to four months is recommended for most vehicles. Weekly vacuuming and light cleaning help maintain the results between deep detailing sessions.
What is the best cleaner for car interiors?
Use automotive-specific interior cleaners designed for leather, plastic, vinyl, and fabric. Household cleaners may damage delicate automotive materials.
Can interior detailing remove bad odors?
Yes. Proper interior detailing removes the dirt, bacteria, mold, and spills that cause odors instead of simply covering them with fragrances.
Is steam cleaning safe for car interiors?
Steam cleaning can safely sanitize many interior surfaces when performed correctly. However, excessive moisture should be avoided on headliners, electronics, and certain delicate materials.
Should leather seats be conditioned after cleaning?
Yes. Leather conditioners restore moisture, help prevent cracking, reduce fading, and extend the life of leather upholstery.
Can interior detailing improve resale value?
Absolutely. A clean, well-maintained interior increases buyer confidence and often improves your vehicle’s resale or trade-in value.
How long does interior detailing take?
A basic interior detail usually takes 2–4 hours, while heavily soiled vehicles or premium detailing services may require 5–8 hours or longer.
Is professional interior detailing worth it?
Professional detailing is often worthwhile for vehicles with deep stains, embedded pet hair, smoke odors, mold, or neglected interiors that require specialized equipment and expertise.
I am Shofiul Alam Tanvir, a top-rated Fiverr, SeoClerk and Upwork freelancer and one of the leading advanced SEO experts in the USA. With over five years of dedicated experience, I specialize in delivering high-impact, data-driven search engine optimization strategies.
©2026. Shofiul Alam Tanvir. All Rights Reserved.
Terms & Conditions
Privacy Policy